
Hi everyone! I know I haven't updated this blog for like 2 or 3 weeks so I am back with a new nail art tutorial blog post. You know that many people are addicted to minions. I already made a Minion nail art design so today, I will be doing the Evil Minion from the movie Despicable Me 2. So, let's begin. :)

Products used:
Sally Hansen Base Coat
Chic Neon Purple
Sassy Colors Black with Nail Art Brush
Jocarste #26
Chic Silky White
Etude House Glitter Polish
Seche Vite
Toothpick
Big and small Dotting Tool
Step 2: Paint your nails 3 thin coats of purple polish.

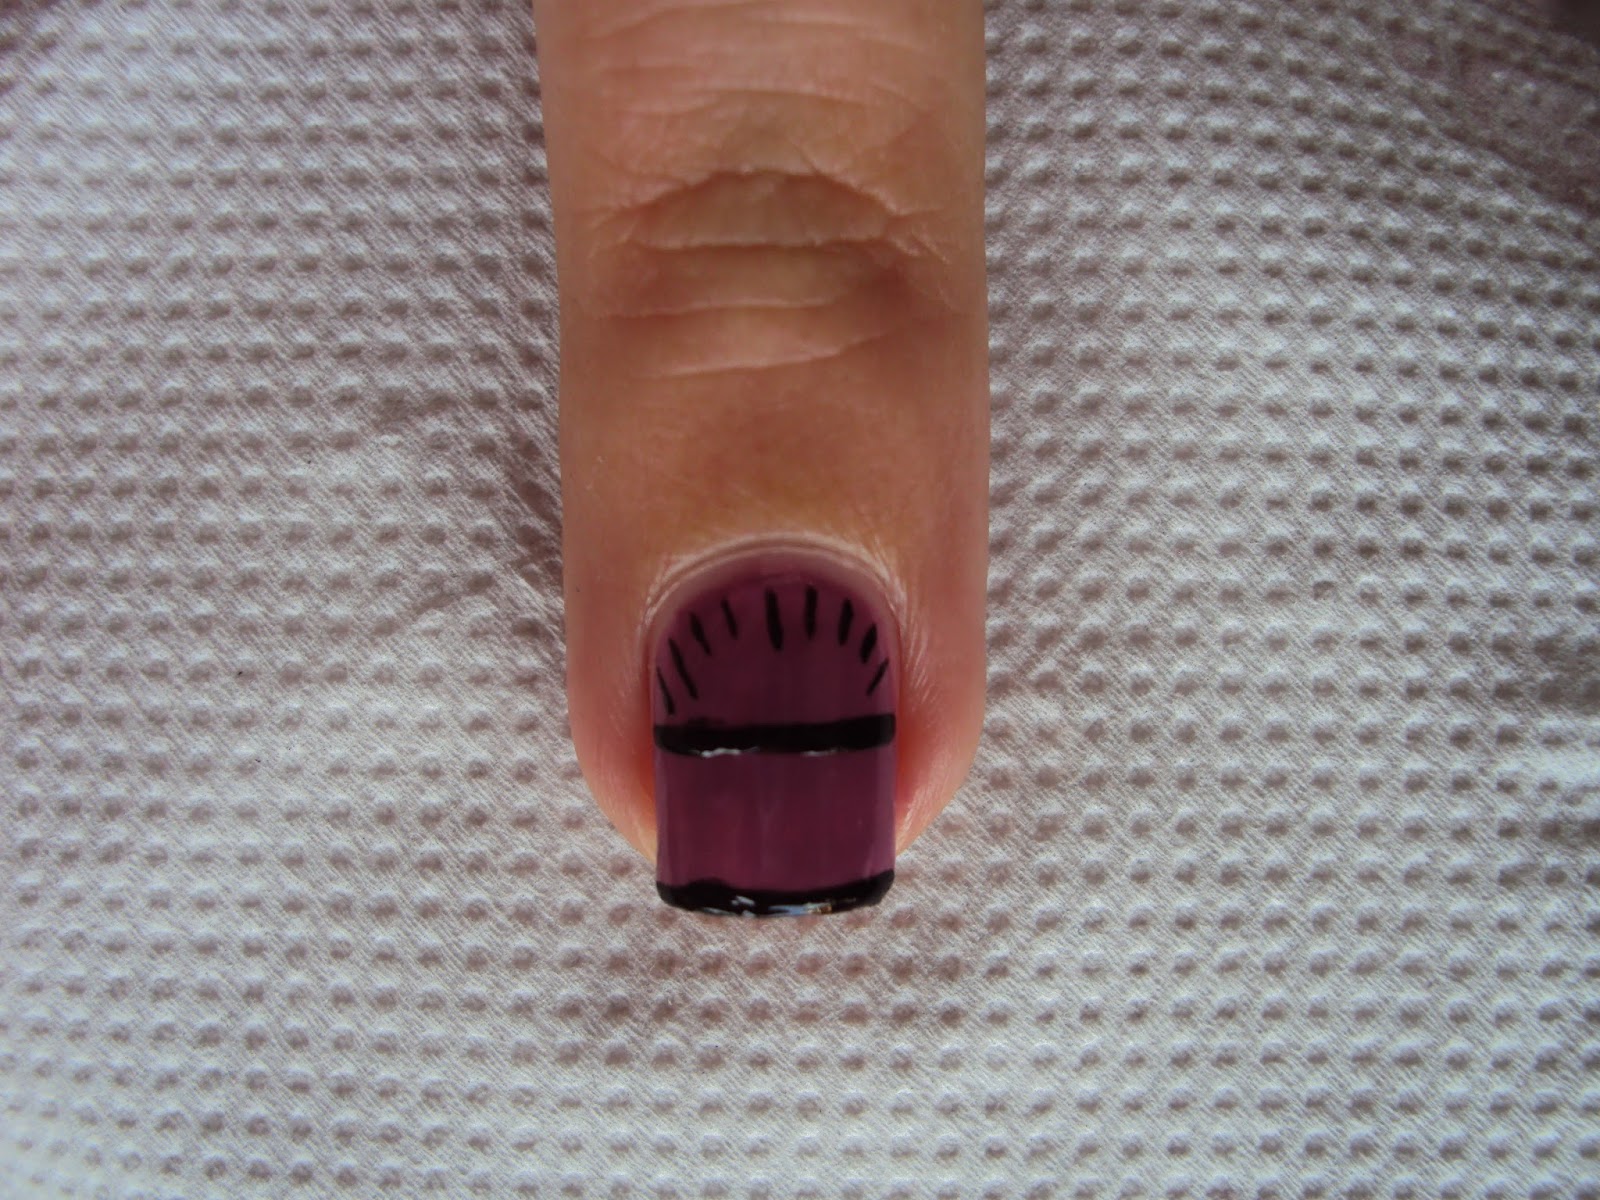
Step 3: Draw small lines near the cuticle using the black polish with nail art brush for the hair.

Step 4: Make a french tip and a line underneath the hair you just made.
Step 5: Now it's time to make the eye. Using a big dotting tool dipped in a silver polish, make a dot in the middle of the line under the hair.

Step 6: Using the same dotting tool, dip it in a white polish this time and make a dot not totally covering the silver polish.

Step 7: Using a small dotting tool dipped in a black polish, make a small dot for its pupil.

Step 8: We are done with the eye so let us now move on to the mouth. Using a black stripper, make a slanted line starting from the middle. Then using a toothpick dipped in white polish, dab a small amount of white polish above the slanted line for the teeth.

Step 9: I chose to draw the evil minions on my thumb and ring finger. So for the other nails, I painted a glitter polish.
Step 10: Apply your favorite top coat and we are done! :)

So there you have it guys. I hope you enjoyed viewing this post and if you want a video version of this tutorial, you can watch it in my Youtube channel. :) Thank you so much for viewing and God bless. :)
Lots of ♥, Judy
No comments:
Post a Comment